"If you bring forth what is within you, what you bring forth will save you. If you do not bring forth what is within you, what you do not bring forth will destroy you."


Tuesday, June 29, 2010

Bloggerette Sorority - Rush!

I joined the sorority right after the 'rush' challenge - the very first order of business.  Even though I missed the original deadline, I wanted to complete the challenge - which was to take the sorority photo (see right side of blog) and make something with it - anything.  I made this 2-1/2 inch by 3-1/2 inch Artist Trading Card. I used brayered paper for the background.  The paper was heavy weight bond and acrylic paint was used.  I decided I wanted to tint the photo, a technique that was used on many photos from the early 1900's.

To complete the 'rush' challenge, we had to post a photo of ourselves holding what we made.  This is so that we can all get acquainted with each other.  So here I am:

 
Disclaimer: This was taken at work, around 7:00 am and I don't think I was awake yet!  LOL!
Anyway, that's my story and I'm sticking to it!

Gothic Arch Challenge - Steampunk

I don't really relate to steampunk. I have had this image for a long time and wanted to use it, so I thought that now might be the time.

Sunday, June 27, 2010

My Frida Card

This card was made for a new group - Monthly Themed ATCs.  June's theme was Frida Kahlo.

Monday, June 21, 2010

Dresses for a Swap

These cards were made for the Swap til you Drop challenge. Margaret, who is hosting the wonderful dress swap for 2010 (see side bar) is the guest designer. What a joy it is to create even more dresses!


The card for this creation was made using watercolor on bond paper.

This card features hand-sewn seed beads and a brayered paper card.


You can never have enough butterflies!  The lovely flower trim on this dress came from a wonderful artist in Holland.


Tuesday, June 15, 2010

Birthday Card

This 2-1/2 X 3-1/2 sized card was included in a birthday card I sent. There is one VERY glaring error here.  But - I still do have a LOT to learn!

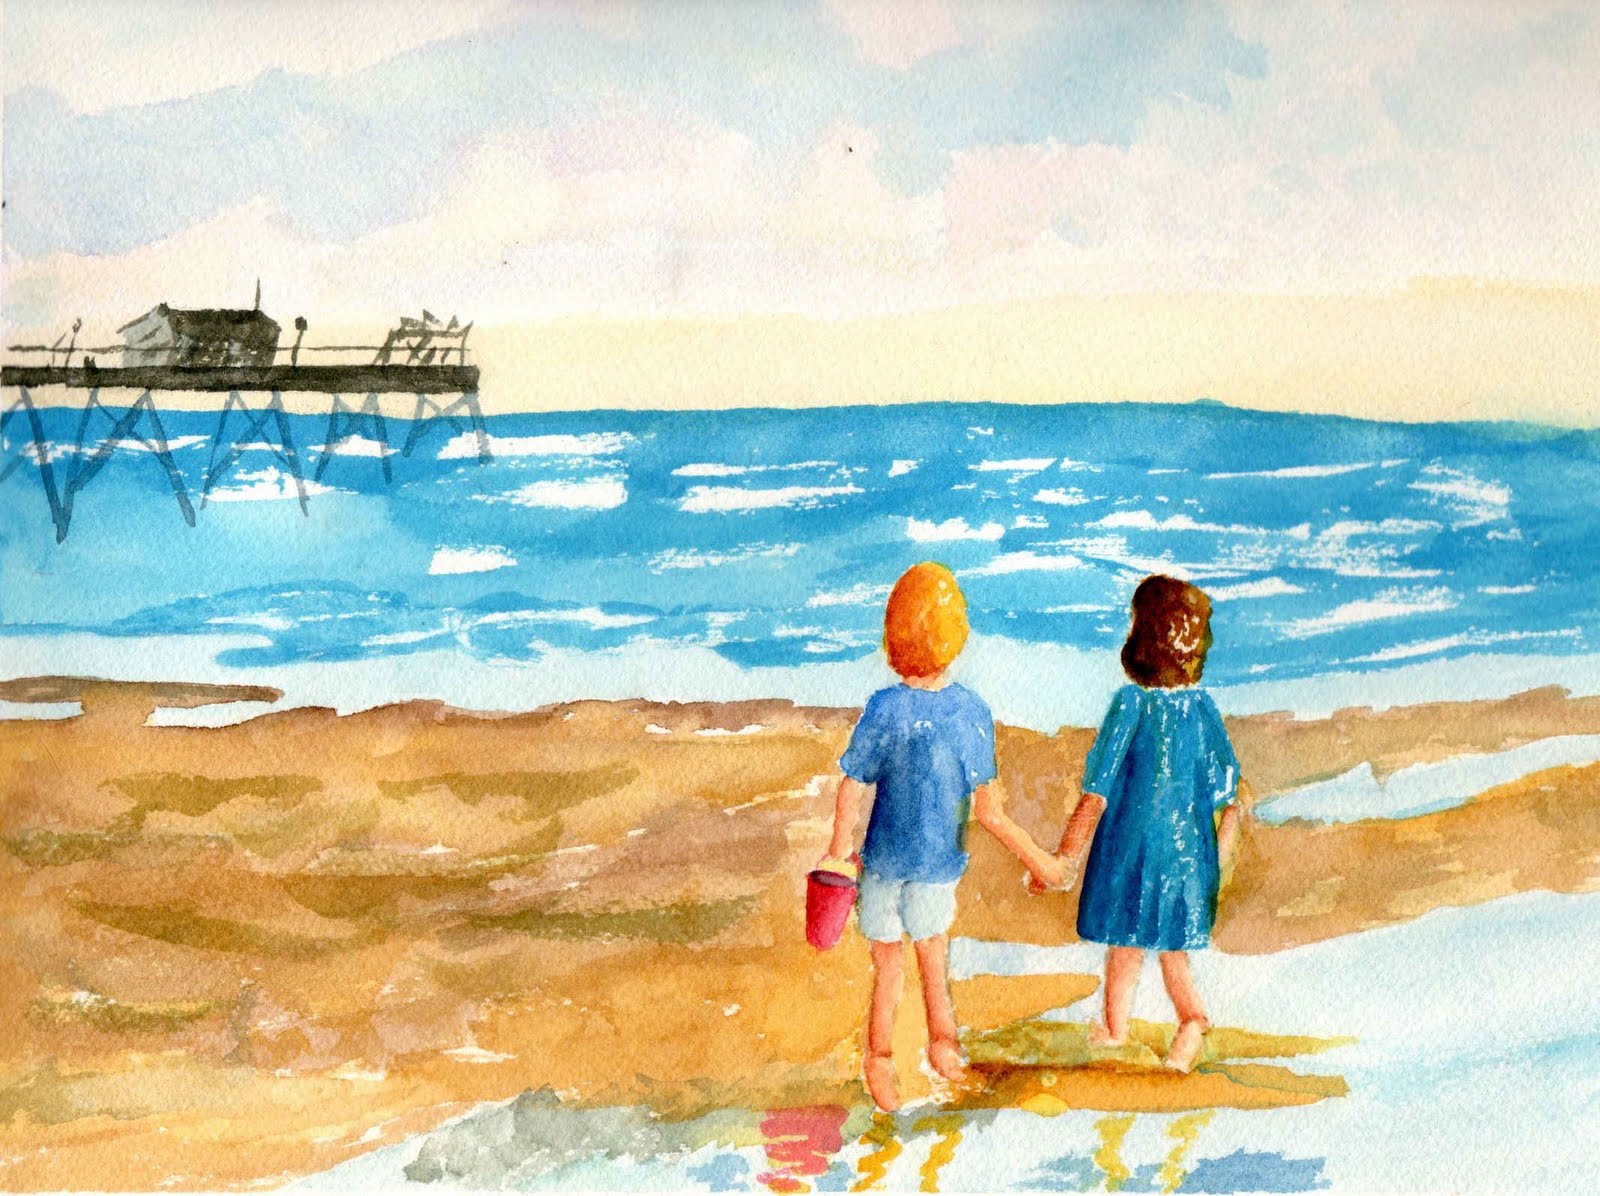
Kids at the Beach

This watercolor painting is 8" X 11"

Sunday, June 13, 2010

Gothic Arch Challenge - Asian!

I started with natural paper and stamped it with StazOn Saddle Brown.  The butterfly was embossed with Stampabilities embossing ink and Ranger embossing powder.  The edges were shaded using oil pastels.  The embellishments were all from gift packages received from fellow traders!  You know who you are.  Thank you all so much!

Tuesday, June 1, 2010

Dress Challenge Dress for June

I could NOT resist the temptation to design a paper wedding dress for the June Dress Challenge.  The dress is made entirely of paper except for the scroll embellishments.  The dress was cut of several layers of thin white tissue paper overlapping each other.  The dress waistband and wrist bands are folded, cumberbund style, from tissue.  The frilly cuffs, skirt, and veil were made from thin tissue paper, as well.  The entire dress was sprinkled lightly with very fine crystal sparkle that doesn't show too well in the photo unless you enlarge the photo.

The big challenge with this dress was using the Martha Stewart die cutter on tissue paper to make the frilly embellishments.  Ever try to cut tissue paper????  I finally discovered the trick.  I took an 8-1/2 x 11 piece of white computer paper and folded it in half.  I then put about 6 layers of tissue in between, against the fold.  Then, I slid the paper into the cutter and cut.  The computer paper protects the tissue and allows it to be cut perfectly.

I didn't think about it when I was creating this dress, but it reminds me a lot of the wedding gown I wore in 1967.  See below.  It was not a paper dress!  I purchased it at the JC Penney Outlet store for $47.00. 
It was a completely gorgeous gown!


My wardrobe is getting full!

Monday, May 17, 2010

Tutorial: Peeled Paint Effect with an Embossing Folder

This effect was achieved completely by accident! I didn't expect the incredible peeled paint effect this technique would create! 

I took a piece of heavy brown board and spread Liquitex Modeling Paste thinly over the entire card with a wood craft stick. 

I then smoothed the paste evenly over the entire card.  If you want to paint over the morter before embossing, do it now.

Then, I let it dry for 30-45 minutes (40 to 50 minutes if you painted it).  You don't want it to be completely dry - but just dry on the top.  Actual time would depend upon the humidity, and how thickly you spread the paste.  Touch the top of the card and push down slightly, and if it feels fairly dry, you can move on to the next step.

Place the card between an embossing folder.  I used a Cuttlebug folder.  Be sure you have placed the card in the folder to result in the effect you want top - raised or indented.  Close the folder.

I then run the card through my Big Shot.  I really think you could do also this with a rolling pin using lots of pressure. 

Carefully remove the top of the folder, the part over the morter.  Some of the mortar should peel off the card, leaving you with a very realistic peeled paint effect. 

IMPORTANT:  WASH THE EMBOSSING FOLDER THOROUGHLY.  I used a toothbrush to get all of the mortar out of the cracks.

Let the card dry thoroughly before using.  And here's what it looks like:

Monday, May 10, 2010

Cards containing puzzle pieces

I made these cards using the fused fiber tutorial on Lesley's Harmony Road blog.   I don't think I did it correctly; but it still came out rather interestingly.  Thanks, Les!


Saturday, May 1, 2010

Callaway Cyclamen


This painting was started at Callaway Gardens
It is 8" X 10"
I used Arches 140 lb. cold pressed paper.

Dress for May

My dress for May's Dress Challenge is inspired by a Maypole.  The dress itself is embossed watercolor paper rubbed with oil pastels. The waistband, collar and sleeves are grosgrain ribbon.